In this lab you will add several important methods to the binary search tree class BinaryTree, which you first encountered in Lab08. You will also test the behavior of your new, improved BinaryTree using an enhanced version of the Java GUI application from that same lab.
To implement several of the new methods described below, you will need to use the principle of recursion. By now you have had at least some exposure to recursive algorithms in the lectures, so with luck this part might not be too hard. But you should certainly be prepared to get help from your lab instructor as needed.
As usual, the GUI framework and the graphical representation of the BinaryTree have been completely written for you. The GUI is similar to the one you used in Lab 08, but this version introduces a toplevel menu bar as a means for displaying some global tree properties.
Your task will be to implement several stubbed BinaryTree methods in a partially written source file. These will all be new methods, since you will find complete implementations of all the methods you were asked to provide in Lab 08.
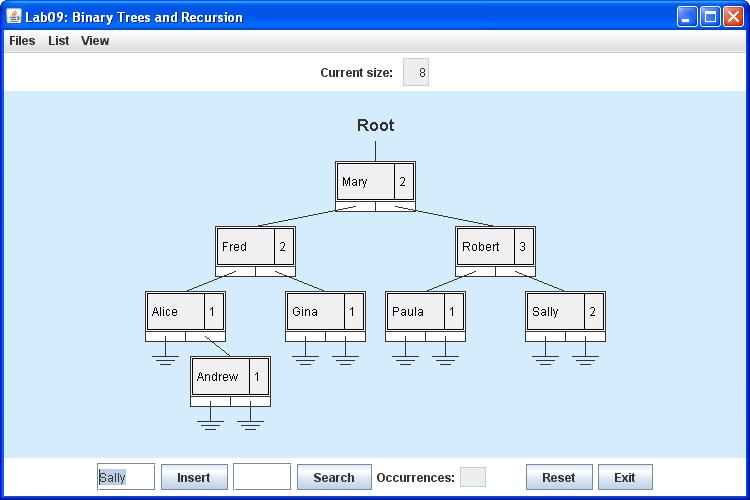
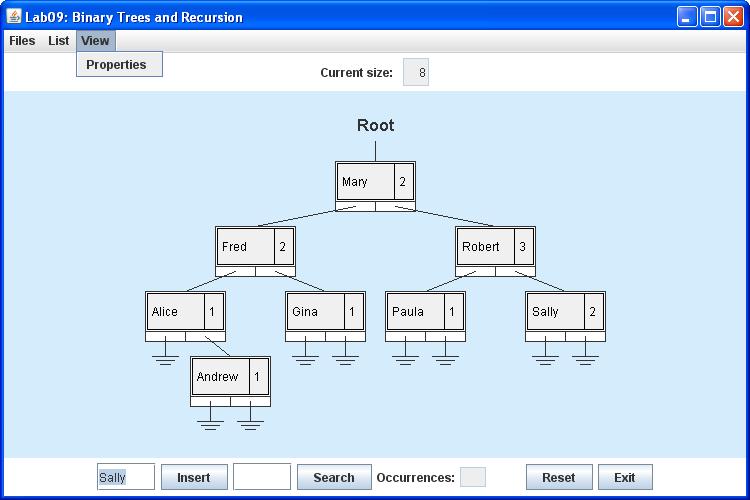
After you complete the BinaryTree source file and successfully build the application, you can start using it to test your method implementations. You will immediately find that you can insert new values into the tree and search for specifed values just as you did in the original version. But as the following figure shows, the new GUI also features a toplevel menu bar that contains three menus: Files, List, and View:
The Files menu contains two items, Reset and Exit:
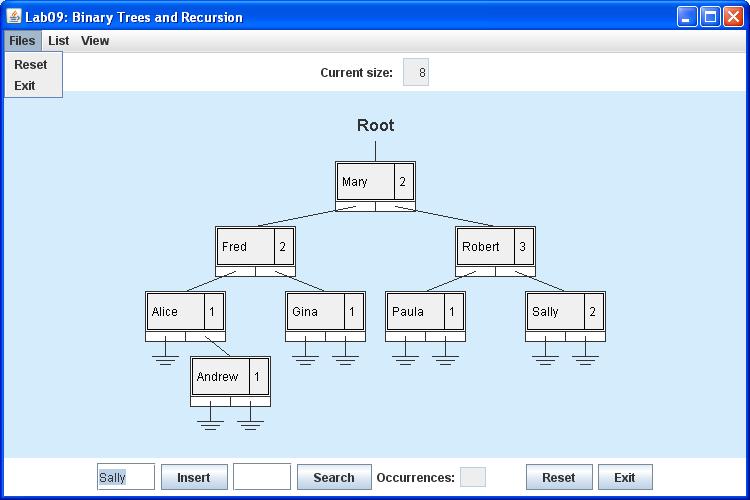
As you may have noticed, these two items duplicate the functions of the two buttons at the bottom of the control panel.
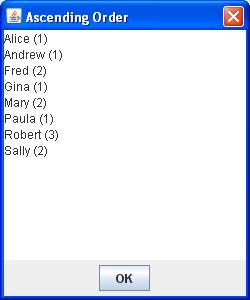
The List menu has two items, labeled Ascending and Descending. These items will be used to display the entire tree contents in normal and reversed alphabetical order respectively. Each listing will be displayed in a separate dialog box. For example, if you first select List and then Ascending as shown below,
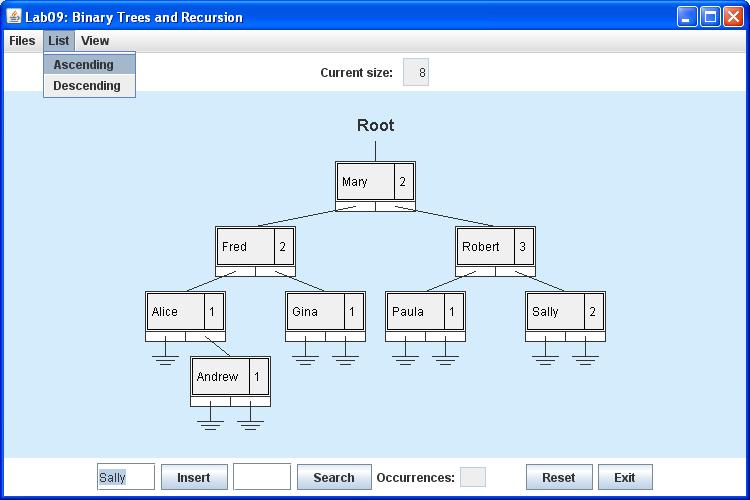
you should see the dialog
The View menu contains a Properties item, as shown below:
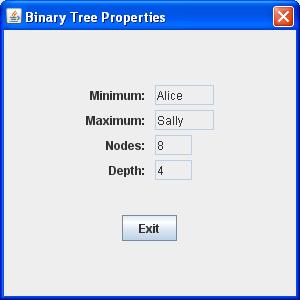
Selecting Properties raises a properties dialog box that describes the current state of the BinaryTree object. This dialog should appear as shown below:
| DisplayFrame.java | DisplayPanel.java | ListDialog.java | PropertiesDialog.java |
| BinaryTree.java | Node.java | Item.java |
	DisplayFrame frame = new DisplayFrame();
	frame.setVisible(true);
	frame.setInitialFocus();
Lab07.jar contains a fully implemented version of the package lab07, which you built in Lab 07. The only reason for including this JAR file here is to to make the class lab07.Queue available for this project.
The Node class again defines a single binary tree node, the basic building block for a binary tree. This lab also makes use of the same Item class that you first used in Lab 08. Recall that the data in each binary tree node is of type Item, and that each Item contains a unique String value as well as its associated occurrence count (number of insertions).
The ListDialog and PropertiesDialog classes are customized dialog boxes. The ListDialog is used to display ordered lists of the tree contents, in either ascending (normal) or descending lexicographic order. The PropertiesDialog displays current properties of the BinaryTree.
Once all the methods correctly perform their specified tasks, the GUI framework will display the tree as shown in the sample figures in the Introduction.
You should now proceed to implement each of the methods listed above. Their respective tasks are as follows:
Note that the recursive "helper" method is implemented as a static member of the BinaryTree class. Of course this means that it is not associated with any individual instance of the class. It also is defined to be a private method, since users of BinaryTree objects should not need to know how these things are really done.
When your project is complete and working correctly, demonstrate it to your lab instructor. Then, before you exit NetBeans, clean your Lab09 project. Finally, before you logout, open a terminal window and use the cd command to enter your csci/202/labs directory. Then create a JAR file of your Lab09 project folder, using the command
jar cf Lab09Project.jar Lab09Please leave both your project folder and Lab09Project.jar in your csci/202/labs directory for the remainder of the semester.