Your Assignment ...
The archive file for this lab is named Fixit.jar. Depress the shift key and
right-click on the link in the previous sentence, to Save
Fixit.jar to your computer. Save the file in
your csci/201 folder.
Give the following commands in your Linux session window to extract
the compressed files from Fixit.jar:
[user@mach dir] cd csci/201
[user@mach dir] jar xfv Fixit.jar
  created: META-INF/
  inflated: META-INF/MANIFEST.MF
  created: Fixit/
  inflated: Fixit/FixIt.java
The first command, cd csci/201, settings our
current working directory to be csci/201, the directory containing the
archive file. The command jar xfv Fixit.jar
unpacks or "expands" the archive file.
Give the command ls -R (dir in windows)
to see the directory (and its contents) created by unpacking the
archive file.
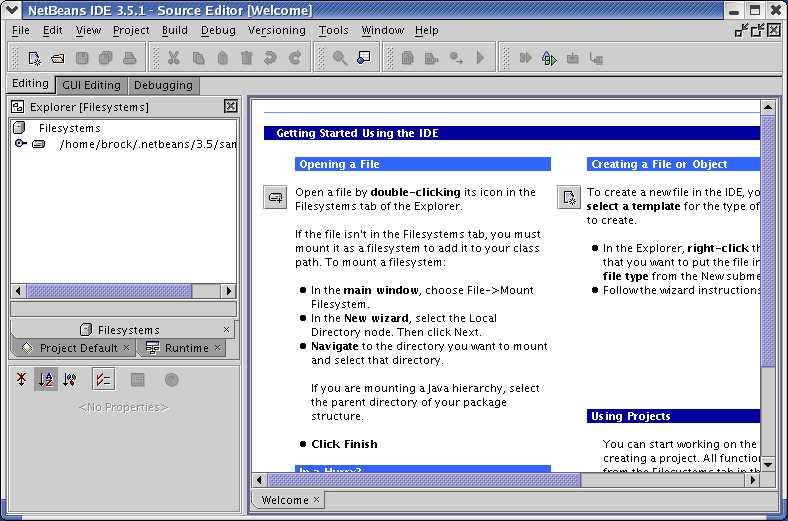
Opening the File
To see the contents of the java file that you just downloaded, you
need to open it in NetBeans:
- If NetBeans is not already running, give the command to
start NetBeans in your Linux session window.
[user@mach dir] netbeans &
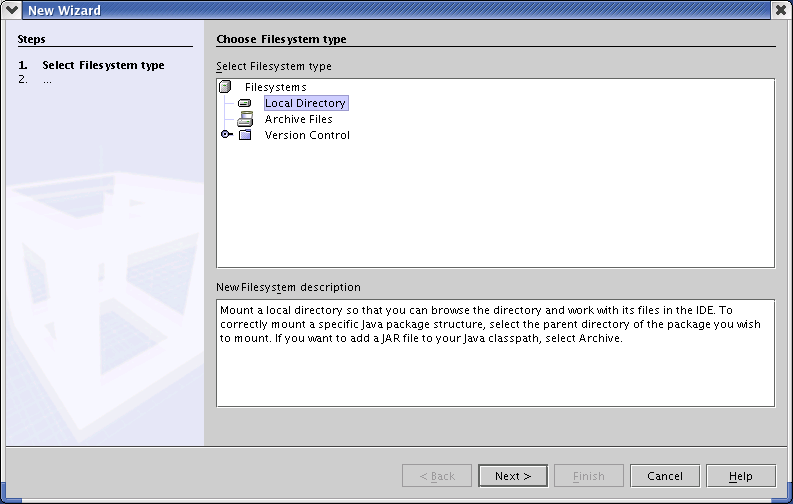
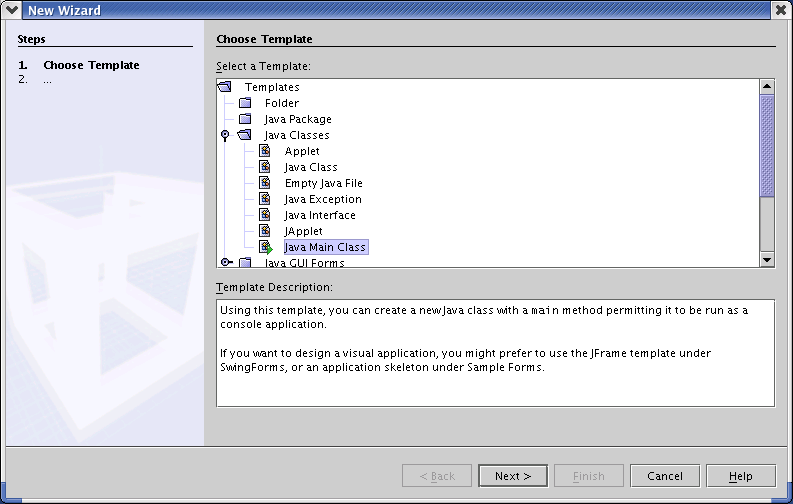
- Create a new project for the FixIt program.
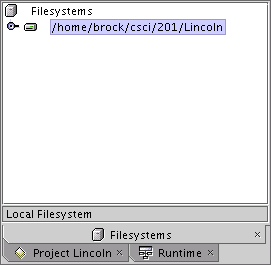
- Mount the FixIt
directory. (In lab, always mount the directory containing the java
file that you'll be working on.)
- Open the file in the NetBeans' editor by double-clicking on it
with in the NetBeans' explorer window.
- Try to compile the file and notice that within the
output in the Compiler output window two errors are reported.
Compiler Errors
In order to fix the errors in your program, we need to be clear on a
few facts regarding java programming:
- All statements in java must end in a semicolon,
";".
- Brackets, such as "{}", are used to break a program into
functional units; these units may be nested. Each opening bracket,
"{", must have a matching closing bracket, "}".
- Java is a case sensitive language. The "object" named
"System.out" used to display information to the terminal window can
not be referred to as "SYSTEM.OUT" or "system.OUT", for
example.
Now let's return to NetBeans. Notice that not only are there error
messages in the Compiler output window, but there are also indications
of problems in the Editing window. Notice the red patches to the
right of 2 lines of code in the program.

By looking at both the error reports in the compiler window and the
information in the editing window you can find out a lot about what's
wrong with a program.
Double-click on the first error in the compiler output window and
notice that the indicated line of code, line number 19, highlights in
red. Now place your mouse over the red patch on the same line of code
and wait until the pop-up message appears.

Using both the messages in the Editing window and the compiler error
messages, try to correct the errors in the program. Always start with
the first error listed in the compiler output window and recompile
after every change that you make.