We are going to walk you through creating a simple program using Netbean's GUI designer. So, start Netbeans, create a new project called Alarm, mount a new directory called Alarm, and then create a new file of type Java GUI Forms -> JFrame Form. Give this file the name Alarm and then click finish. The GUI designer should now be displayed on the screen with a blank form visible (Note: you may have to resize some panels in order to see it, ask your lab instructor for help).
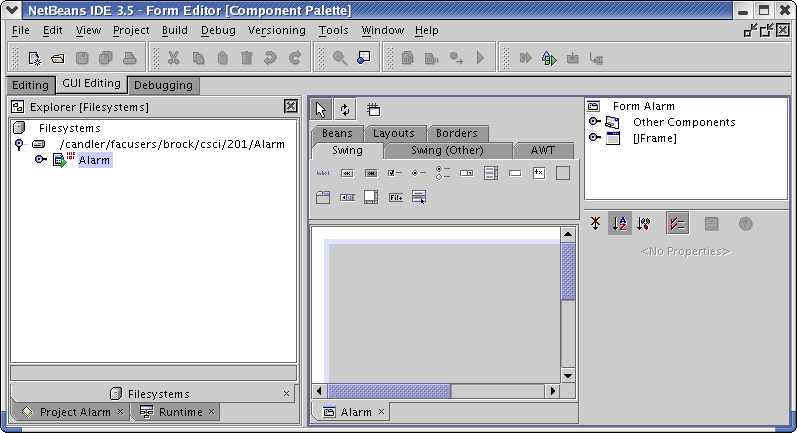
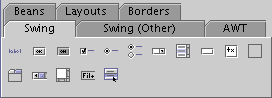
The basic idea of the GUI Editor is that you start with a blank form, add components to it, and then add code to the components. The components toolbar is located at the top of the Form Editor window and has tabs like Swing, Swing (Other), AWT, etc. Right below the components toolbar is a collection of icons you can use to add specific Java elements to your application.
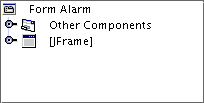
On the right side of the window is an explorer which lists all the components you have added in a tree format.
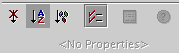
Beneath this is a properties screen which always shows the properties for the currently selected component.
Follow these steps to create a simple alarm program
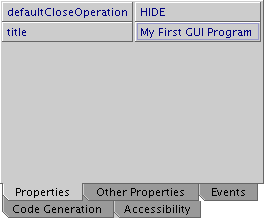
- Click on the blank form to select it. Now in the
properties section, enter My First
GUI Program for the title
property
-
You are going to place components into the screen by selecting icons
from either the Swing or
Layouts tab. If you are successful, you
should see the following items in your components window
when you are done.
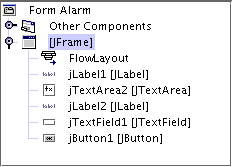
Right now, your components window should end in an item called JFrame. In the next few steps of these lab, you will add components one at a time. Frequently check your components windows against this list to make sure you are on track. If you put down an incorrect component, just right-click on it and then delete it. - Click the Layouts tab in the components bar at the top of the window
- Slowly move your mouse across the icons within the
Layouts panel. A small box should appear
giving the name of each of the layouts.
Click on the FlowLayout
Button and then click your form. Layouts are the way Java
programs organize components on the screen.

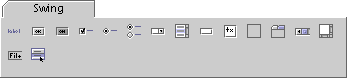
- Click the Swing tab in the
components bar at the top of the
window.
Again, move your mouse slowly across the buttons. These buttons
correspond to the Java components that can be placed within a frame.
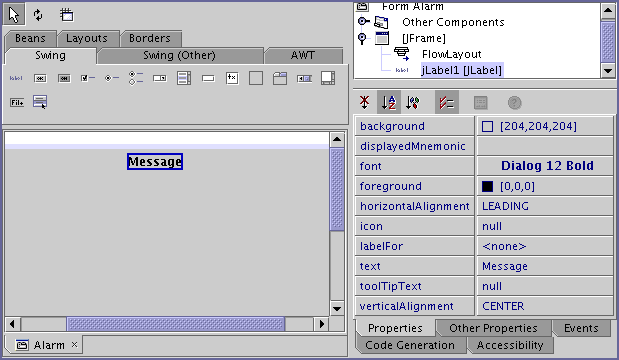
- Click the JLabel Button and then click your form, this will add a label component to your form.
- Click on the new Label component to select it. Next, in the
properties window enter Message: for the
text property
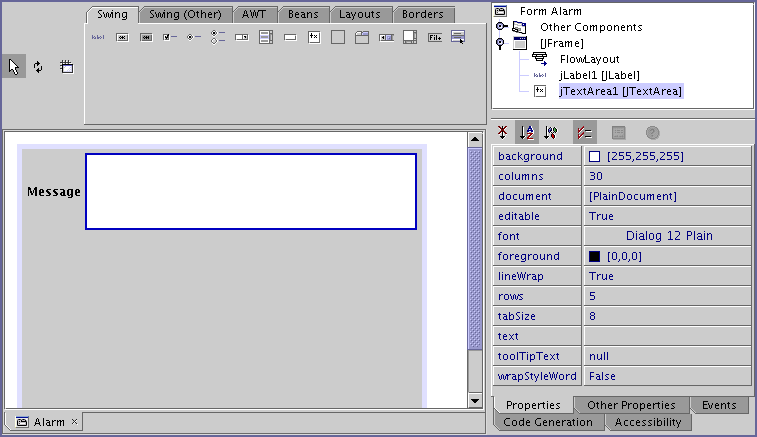
- Click the JTextArea Button in the components bar and then click your form, this will add a Text Area to your form
- Click the new Text Area, now in the properties window enter:
30 for Columns, 5 for
rows, true for LineWrap,
true for wrapStyleWord, and clear out (delete)
text
- Click the JLabel Button and then click your form
- Click on the new Label component to select it, now in the properties window enter Wait Seconds: for the text property
- Click the JTextField Button in the components bar and then click your form, this will add a Text Field to your form
- Click the new Text Field, now in the properties window enter: 10 for Columns and clear out (delete) text
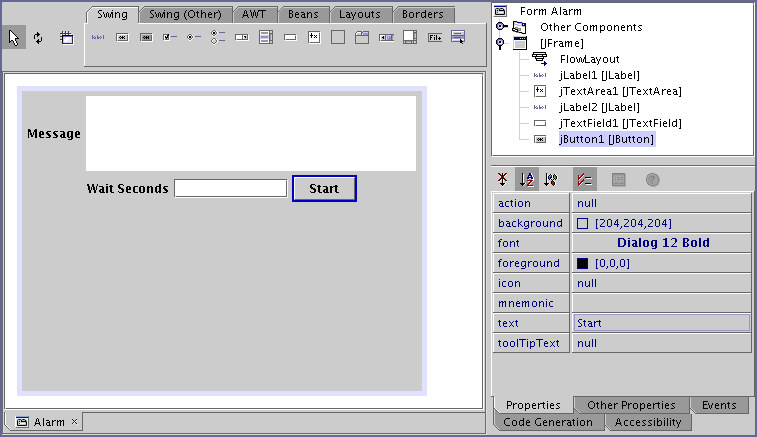
- Click the JButton Button in the components bar and then click your form, this will add a Button to your form
- Click the new Button, now in the properties window enter
Start for the text property
- Double click the Start button on your form, this will bring up the code editor. Now that all the necessary components have been added to the form, we will add some code
- Copy the following code and paste it into the method called
jButton1ActionPerformed:
        this.hide();
        try {
            Thread.sleep(new Integer(jTextField1.getText()).intValue() * 1000);
        } catch (java.lang.InterruptedException e) {
            System.out.println("Countdown Interrupted");
        }
        this.show();
        jTextArea1.grabFocus();
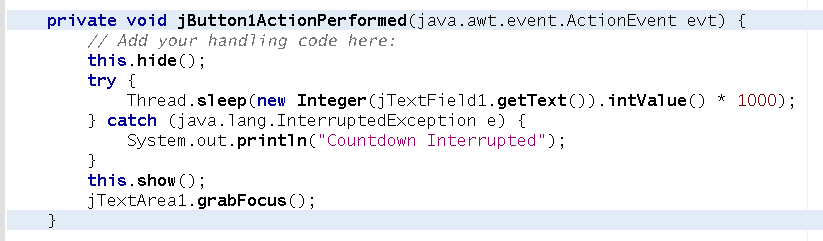
- This code will run when you click the button. It basically says to hide the main form, wait a certain amount of time, and then display it again. Compile and run this program. By the way, if you don't put a value into the Wait Seconds field, the program will crash horribly.
That's all! Now you have a simple application which you can run on almost any computer in the world. Notice how little code it takes to create applications this way.
Show your lab instructor your new program.