Processing and Arduino programs can communicate using the USB serial connection. We’re going to try that out in this lab.
To avoid boring students who have taken CSCI 182, this lab does not give much information about Processing, a dialect of Java. If you haven’t used Processing, you may want to partner up with a former CSCI 182, or you can try browsing the Processing tutorials.
Programming the Arduino
Ha! You don’t have to write a single line of Arduino code!
Just start up the Arduino and follow the menu choices File ⇒ Examples ⇒ Firmata ⇒ StandardFirmata. Choose the appropriate board and port for your Arduino and computer. Remember the port name. You’ll need it when using Processing.
Just upload the sketch.
Firmata
Firmata is a protocol that allows host computers, such as your Mac, to communicate with a microcontroller, such as the Arduino. Normally, the Arduino programmer would write specialized code using the Firmata library; however, in this lab, we are using a generic implementation of the entire Firmata protocol on the Arduino and assuming that the Processing code is going to do all the heavy lifting.
Programming the host
The host is your computer.
Getting a Processing program
Go ahead and clone the
entire Firmata/Processing client repository into your
home directory.
git clone https://github.com/firmata/processing
Make a link from the
arduino_output.pde file you just downloaded from
GitHub
to a file in your Processing sketchbook directory.
The link command is something like:
mkdir ~/sketchbook/
ln processing/examples/arduino_output/arduino_output.pde ~/sketchbook/
You can also copy it using the system file application.
Running a Processing program
Start up Processing and open arduino_output.pde. This should also create a directory called arduino_output .
Run the Processing program. Do not press any input switches on your Arduino board. Allow Processing to do all the work. That way we will avoid any short circuits.
Processing should bring up a window similar to the following.
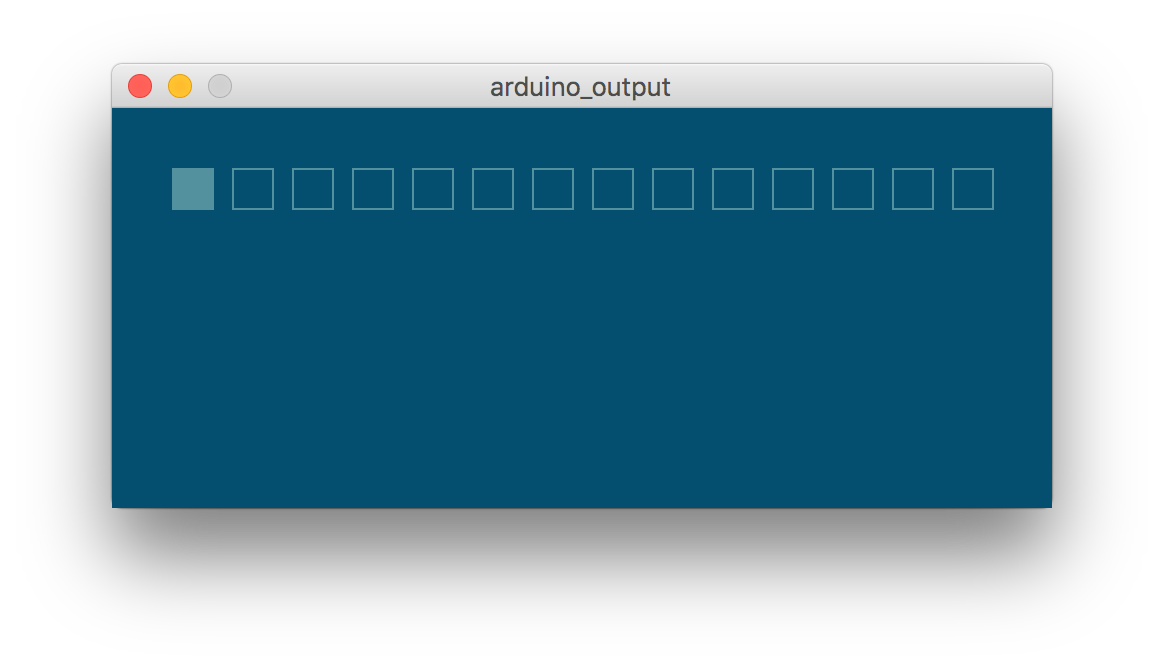
If you press on the little square closest to the upper-left corner,
you should be able to turn the LED on your Arudino off and on.
If you have a breadboard with LEDs attached to your Arduino, you
should also be able to turn them on and off.
And so....
This lab only gives you a brief introduction to how the Arduino can interact with Processing. In this case, the Processing interface is very simple. In a larger application, you could have the Processing application control motors in an interactive art project, and, of course, do something much more exciting with moving circles and squares.
The Processing-Arduino interface isn’t limited to Arduino output.
The tutorial
Arduino and
Processing describes how to read and write ports, using both digital
and analog.
There’s an example of this in the
arduino_input program you downloaded from the
Firmata/Processing
repository.
You could combine code from arduino_input and
arduino_output to use the two-switch two-LED breadboard
constructed in the introductory
Arduino lab.