Running DrJava
Starting DrJava in RH004
Start up a Linux terminal session and then type the command drjava & to start drjava.
The splash window should display quickly.
It will be followed by the initial DrJava window.
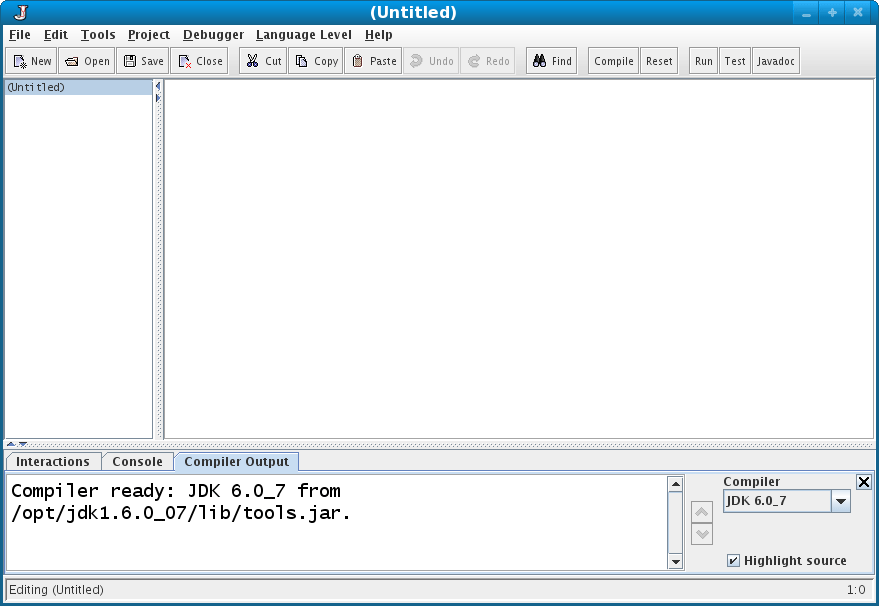
Note the version of your compiler. If you do this on you home system, be sure that your version of the compiler is some flavor of JDK 5 or JDK 6, which is often confusingly referred to as version 1.5 or 1.6.
The part of DrJava we're going to use in this lab is its
Interactions pane. You should
go ahead and select it and then significantly increase the size of
the Interactions pane.
(If you are having trouble reading the letters, ask your
instructor how to increase the size of the font.)
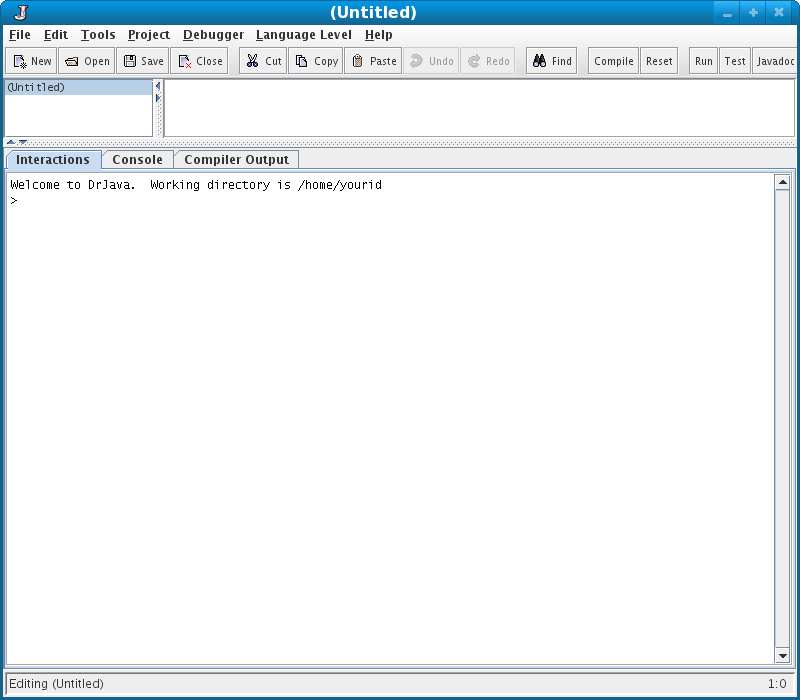
Go ahead and type some simple Java expression, such as 5+201, into
the Interactions pane.
I Do Declare
Using your knowledge of Java declarations gained in class, declare and initialize the following Java variables within the Interaction pane.
| variable | "type" | value |
|---|---|---|
year |
integer | 2008 |
courseNumber |
integer | 221 |
worldPopulation |
floating point | 6,684,000,000 |
earthMass |
floating point | 5.9742 × 1024 |
grade |
character | A |
sign |
character | + |
success |
Boolean | true |
Show the instructor your declarations.
Setting up DrJava for the textbook examples
In order to use the graphical examples in the textbook, you must tell DrJava where these examples are stored on your computer. This is explained very succinctly on the bottom of page 16 of the text. We're going to be more verbose here.
First click
Edit
in DrJava's menu bar. Next, select
Preferences from the pop-up window.
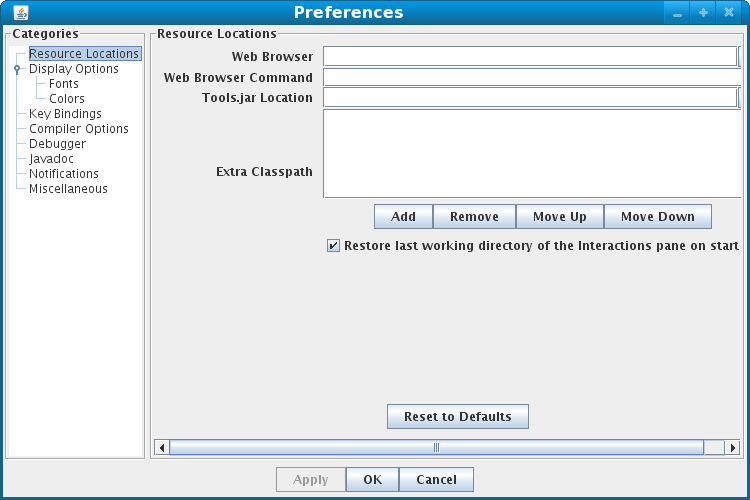
This will raise a Preferences
window where you can add extra elements to the classpath,
the list of locations DrJava (or more precisely Java while running DrJava)
searches for useful bits of Java code.
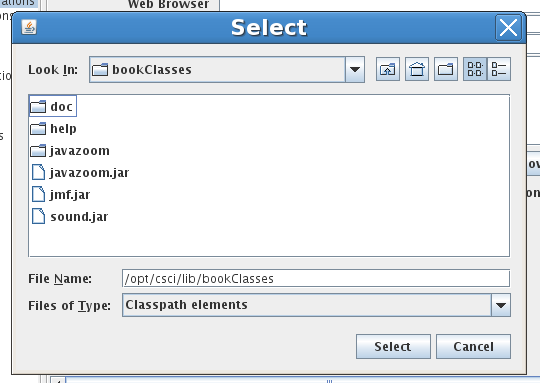
Mash the Add button which will bring up
a Select window.
Navigate through the file system until you have selected the
/opt/csci/lib/bookClasses directory.
If you need help with this, talk with your lab instructor.
When you do this on your home system, you'll need to pay attention
to where the book classes are installed and add that particular location.
Pressing Select should return you
to the Preferences where
/opt/csci/lib/bookClasses
should now appear as an
Extra Classpath.
If it doesn't, you need to talk with the lab instructor.
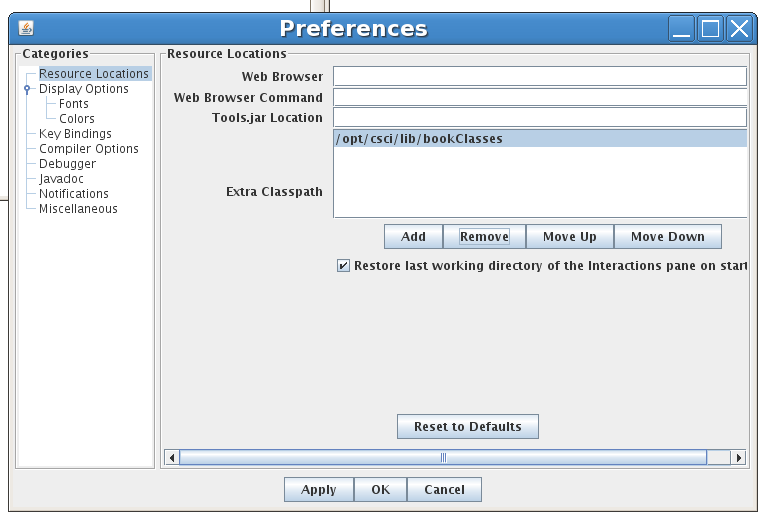
You should now press the OK button.
Really using the textbook examples
Oddly enough DrJava will not use its new classpath until it is restarted. Now exit from DrJava and restart it from the command line.
Go back to the Interactions pane and type the following single Java statement.
new World() ;
This should display a rather boring window on your screen.
Show your new World to the instructor.