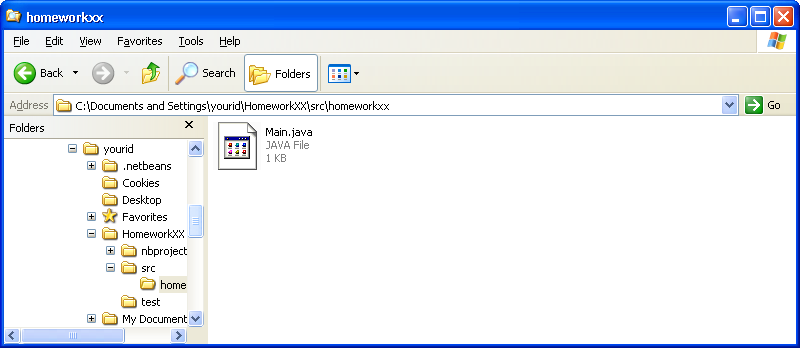
Bringing up an explorer window with your file, or files, to be transfered is the first step!
This page tries to guide a CSCI 201 students who using Windows on their "home" systems through the process of submitting their work to the UNCA Computer Science file server.
We recommend that you use the free program WinSCP to transfer your files. When you install WinSCP, take all the defaults so that your WinSCP windows will resemble the screen "shots" in this web page.
We assume that you have participated in a CSCI 201 File Transfer lab and have learned how to use NetBeans' Project Properties windows to determine which Windows directory contains your program.
In particular, you need to be able to locate your file in a Windows
explorer window as show below.
Bringing up an explorer window with your file, or files, to be
transfered is the first step!
Start up WinSCP and
wait for the WinSCP Login window.
Now enter
ftp.cs.unca.edu in the
Host name
field and enter your Linux user name in the
User name field.
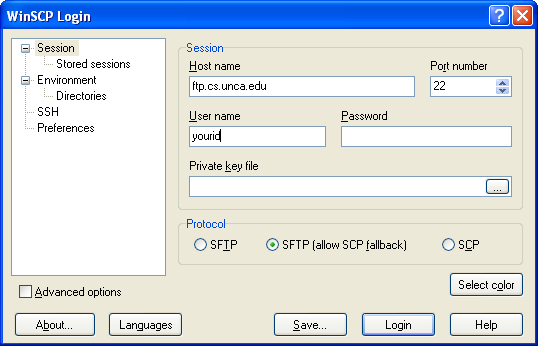
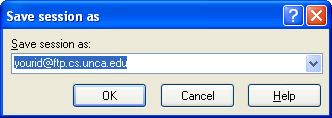
If you use the
Save...
button to store your session information, you can avoid typing this
information in the future.
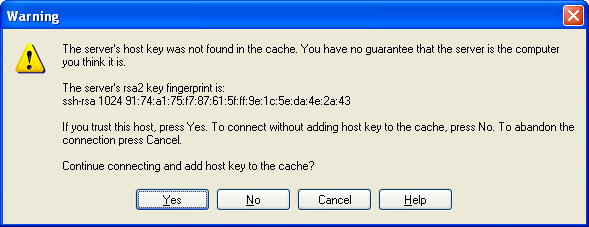
Because WinSCP uses secure
file transfer, your computer and ftp.cs.unca.edu
must establish an encrypted connection.
This complicates your first connection because you will be asked
to add the server's host key to your cache, or list
of trusted sites.
Press Yes. It will
only happen once.
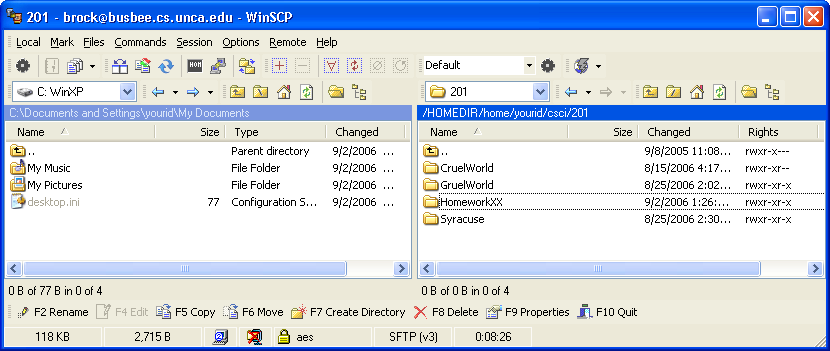
WinSCP's main windows
displays your local
files on left side and your remote (UNCA CSCI) files on the right side.
Oddly enough, we will not use the local files panel.
By double clicking on the csci and
then 201 folders on the remote (right)
side, navigate to your csci/201 directory.

The homework assignment has asked you to deposit your files in a specific subdirectory of your csci/201 folder. Here, we're going to assume that subdirectory is HomeworkXX.
Press the F7 Create Directory button
to create a new directory and then name it
HomeworkXX.
Then connect to the new directory, which should be empty.
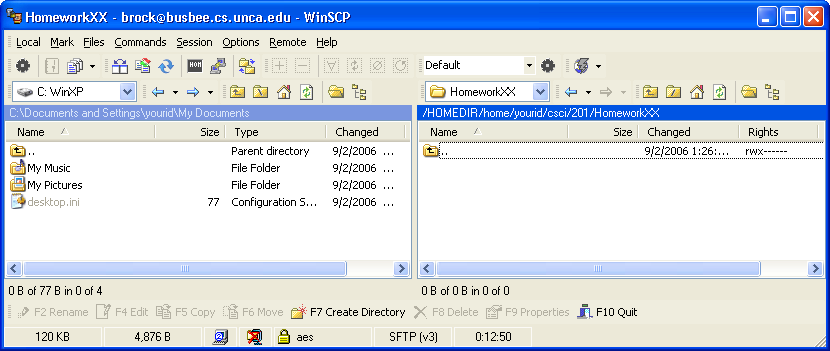
Now all you have to do it drag your file from your Windows explorer window to WinSCP's remove (right) panel.
That's all.